
A distorted narrator, a view plagued by cinematic bars tells a psychological tale of grief. Unable to leave your apartment, trapped exploring the darkest crevices of your mind, you wonder whether reaching the front door will ever show a means of escape. Uncover the past you buried yourself in and find solace in the memories of your loved ones.
Luto makes a drastic move away from its 2022 demo. What was previously a quiet walking sim with clear inspiration from P.T. and Layers of Fear now behaves like a more twisted and artistic The Stanley Parable. Featuring a narrator whose words blur between dream and reality, Luto moves into a more abstract realm, reminiscent of Alan Wake 2 and Death Stranding.
Table of contents
Luto: All chapters and puzzles walkthrough
Full of puzzles and endless walking, it’s time to venture into the great unknown in the hopes that you’ll come out the other side of this internal journey anew. Here is our full walkthrough of Luto.
Chapter 1: It’s Happening Again

Monday
The easiest action you will ever do in Luto is try to exit through the front door after picking up the keys near the home phone. Visit the basement for important lore before you leave, learning about the recurring cinematic bars that haunt Samuel.
Tuesday
Pick up the keys again and exit through the front door.
Wednesday
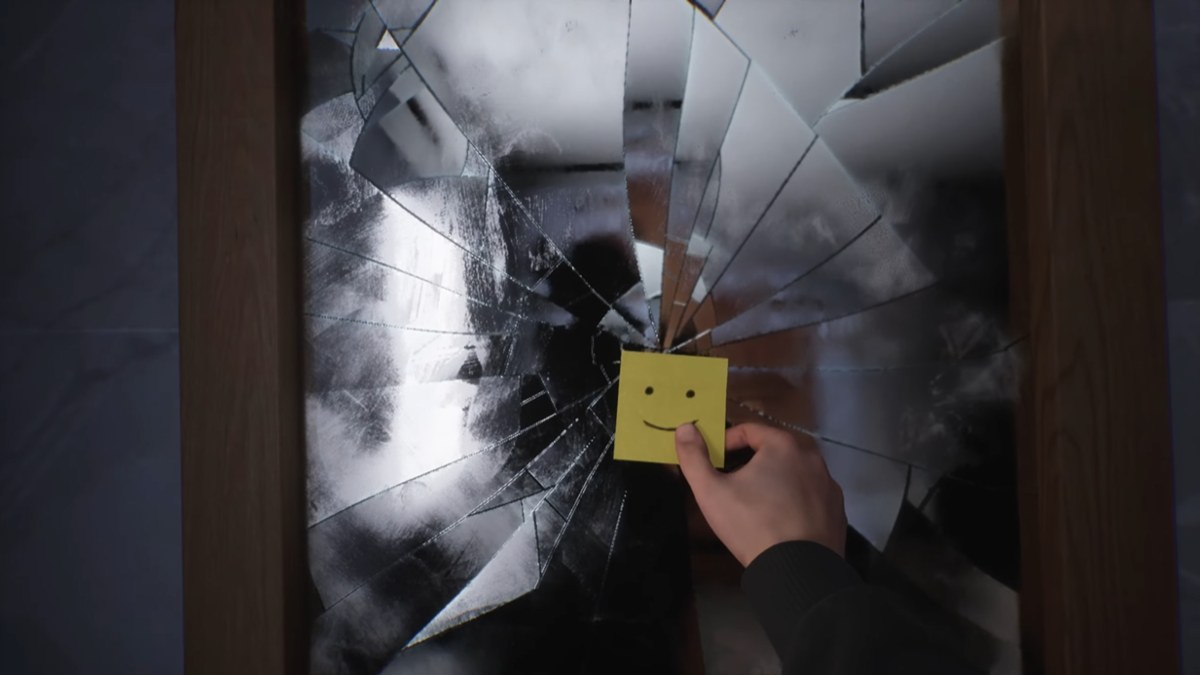
Find Sam’s sketchbook on the floor downstairs. Then return to the bathroom to pick up the home keys from the sink. Exit through the front door.
Thursday
Answer the house phone downstairs. Go into the basement, unlock and enter the secret hatch near the worktable.
Chapter 2: Beyond the Noise
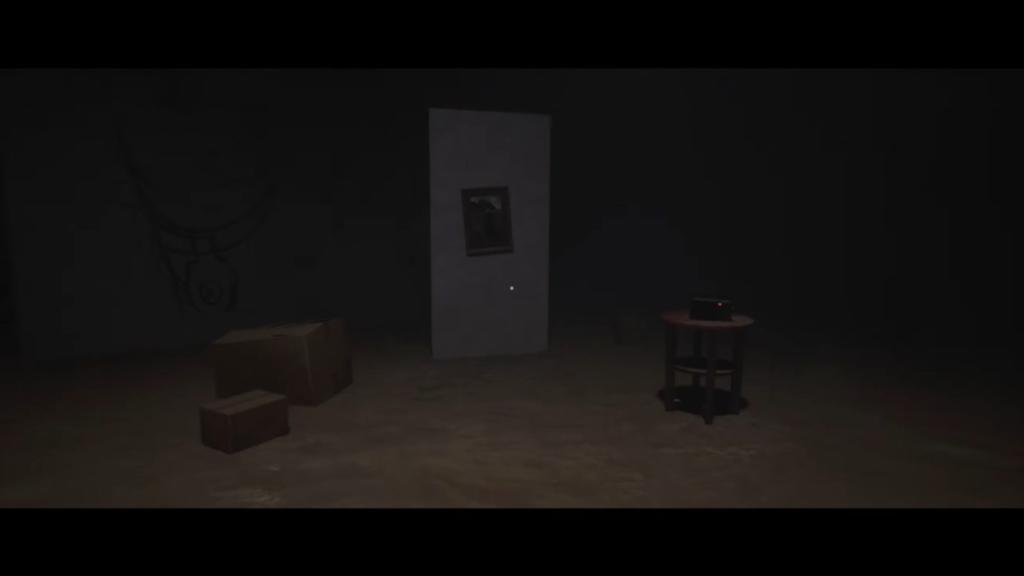
Here is where the first puzzle appears. You need to figure out the numerical code for F A D B to input into the phone. All numbers start with 555. Get a sliver of lore by calling 555-1962, 555-3005, and 555-1990.
F A D B correlates to the sketchbook pages next to the phone. These panels correspond to a letter and a digit to the phone number you need. Click on the SOS button on the phone three times to call mom, which will cause the hammer hooked on the ceiling light (near the ladder and hole in the wall) to fall down, giving you a way to tear off the wooden planks across an open door. Be sure to pick up the Drawing of Monkey Bros off the floor in this room.
Find the distorted mirror in the hallway opposite the boarded-up open door and adjacent to the corridor made of sand and rock that you walked through to re-enter the house. The first digit of the code is inside the mirror.


Locate the door with drawings of clocks encompassing it. The number “1” appears through the peephole. You need to find and click on all seven clocks to mark them off the door and unlock it. Here are the clock locations:
- Behind a vase in the small blue-lit area reflected by the window opposite, to the right of the clock door.
- On a cardboard box above the stairs.
- In the bathtub: Note the number on the clock when it stops spinning, as the time corresponds to “B” for the phone number.
- Above the F A D B puzzle.
- Head downstairs, past the Sisyphus painting from the F A D B phone stand. Clock on the wooden chair.
- Behind the boarded-up door (needs the hammer to pull the planks off).
- Near the distorted window, opposite the boarded-up door, on the bottom shelf of the small table with a post-it note, sketchbook sheet, and lamp on it (next to the gray armchair).
Opening this door tells you to multiply the number through the peephole by seven. Be sure to grab Isaac’s Monkey hanging from the ceiling in this room.
The third letter “D” corresponds to the missing ghost or mannequin in the well-lit room that was previously locked on the first floor (unlocks by picking up the F A D B sketchbook page). The third ghost is missing, which is numbered “2” in Sam’s sketchbook.
So what have we figured out?
- F: The mirror shows us “1.”
- A: By solving the clock puzzle, we only need to multiply 1 by 7 to get “7.”
- D: The missing ghost is “2.”
- B: The clock in the bathtub is set to “5” o’clock.
If you wish to skip all of this, simply input 555-1725 into the phone to solve this puzzle.
Chapter 3: One More Time
Monday – Thursday
Pick up the house keys by the front door and leave.
Friday
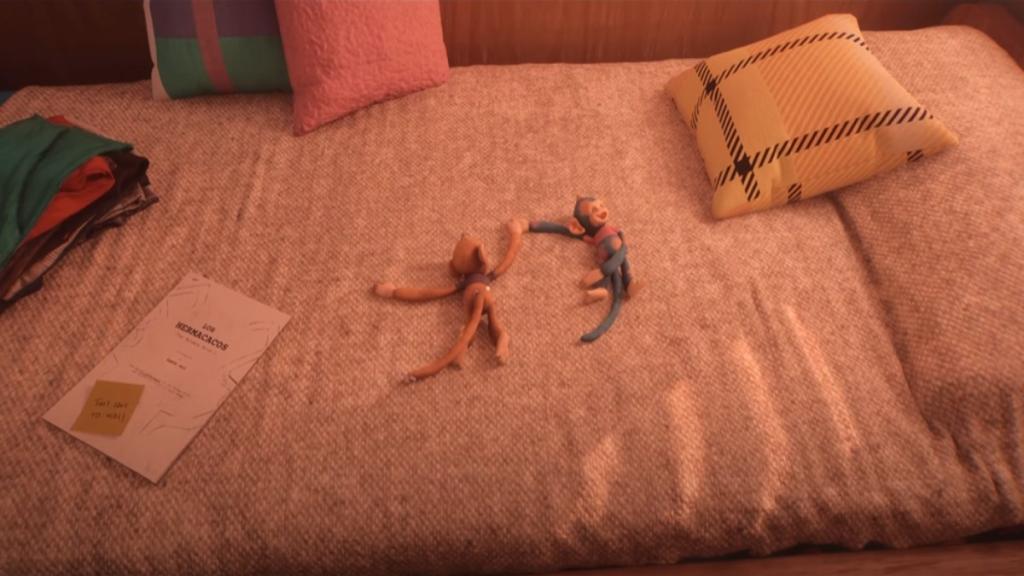
Enter Samuel’s bedroom. Insert the drawing of the monkey bros on the storyboard. Then place Isaac’s Monkey on the bed. Use right-click to zoom and locate the monkey bro plushies spawning around Samuel’s bedroom. You need to look at them, then turn away from them to spawn elsewhere.
- Check above the books under FRANK poster.
- Hanging off the ceiling fan.
- In the trash can.
- On the Rubik’s Cube and piggy bank.
Go downstairs, pick up the keys, and leave through the front door.
Loading: 03_One_More_Time

Pick up the flashlight downstairs and go back upstairs. Look at the four paintings in the corridors with imagery of fish. Click on the fourth image that has a moon in the background. You will get Grandpa’s farewell letter here. There’s a crack in the wall behind the painting you interacted with that has Dolores’ chest key inside. Unlock the chest downstairs to get the Entrance Door (an item you won’t need until much later on).
Follow the linear route back to the telephone and answer it, where the game will begin to fight back using the cinematic bars. Use spacebar to resist, backtrack through the house to the sandy corridor you passed through to reach the F A D B puzzle. Click on the ajar door to find the first light. Luto will break on purpose, forcing you out of the game, where you must click Continue to return to the desert.
Chapter 1: It’s Happening Again
The stairs are very different this time. Keep heading down until a hole appears. Jump down it.
Chapter 4: Thanks For Pushing Me
Here is where the game truly begins, in the same area where Luto‘s demo took place. There’s a new storyboard puzzle that’s missing three panels.
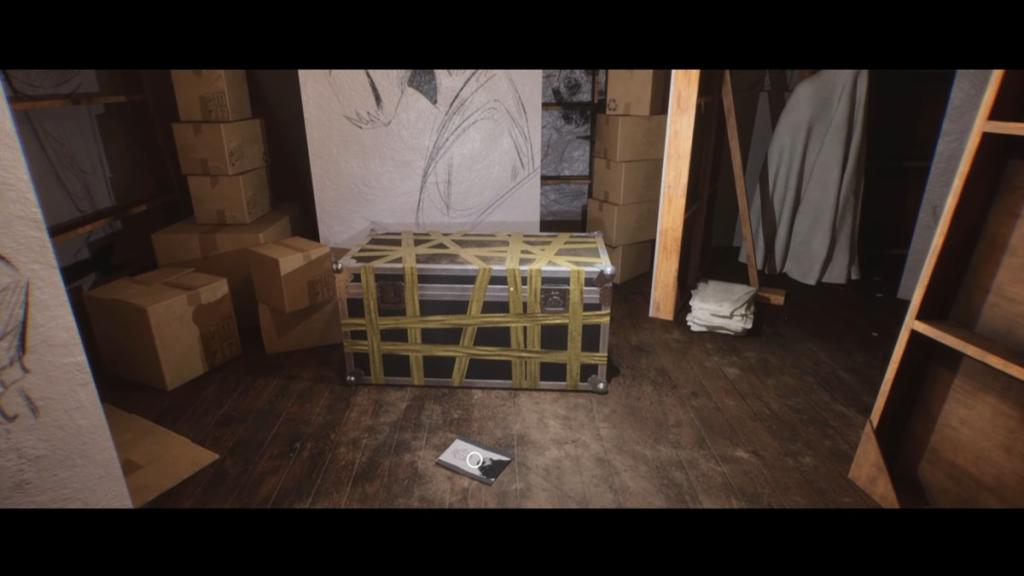
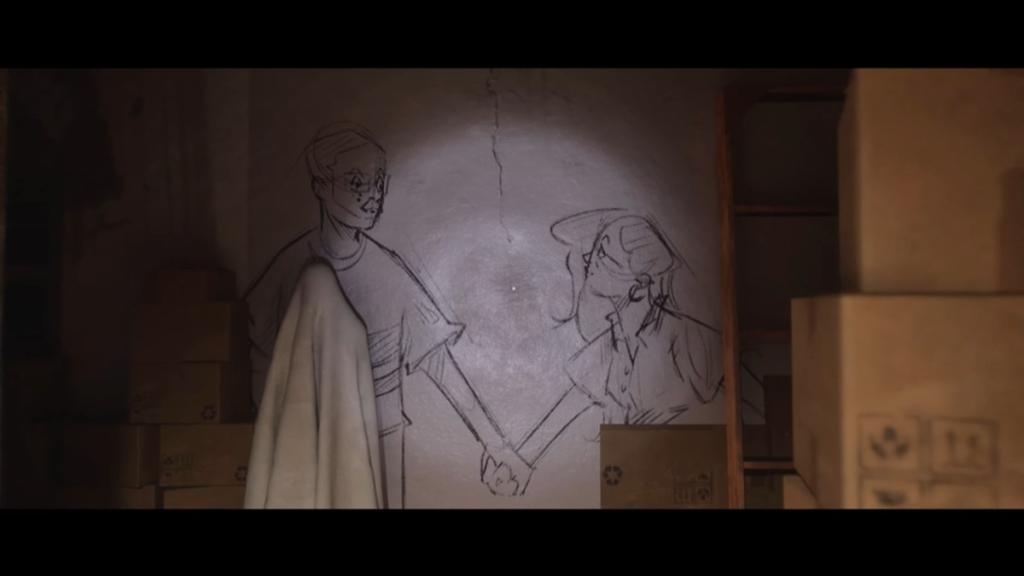
When the corridor splits off into two, take the right path to a large room with a closed trunk that has something inside it trying to get out, the Drawing of Two Monkeys on the floor, and large easels of Isaac and Samuel surrounding it. Take out the Golden Piece from the silver gate in this room.
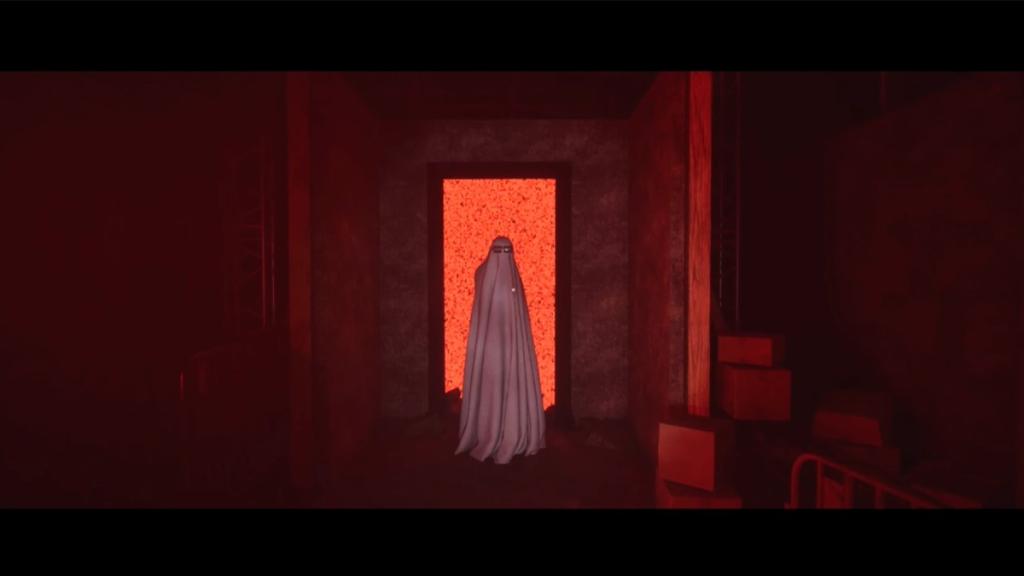
Take theGolden Piece to the boarded-up door and walk down the right corridor, towards a ghost, and insert the piece into the basement gate. Take the Sun and Moon Knocker off the red door. Go all the way down to look at the three monitors for a code made up of symbols. You can’t solve this yet, but remember its location.


Find the Drawing of Strange Symbols upstairs. Place the Knocker on the door with the phone ringing on the other side. Explore this apartment to find the Drawing of a Canarian House storyboard piece in the hallway near the neon blue exit sign on the floor. It is directly opposite the locked room with a rocking chair.
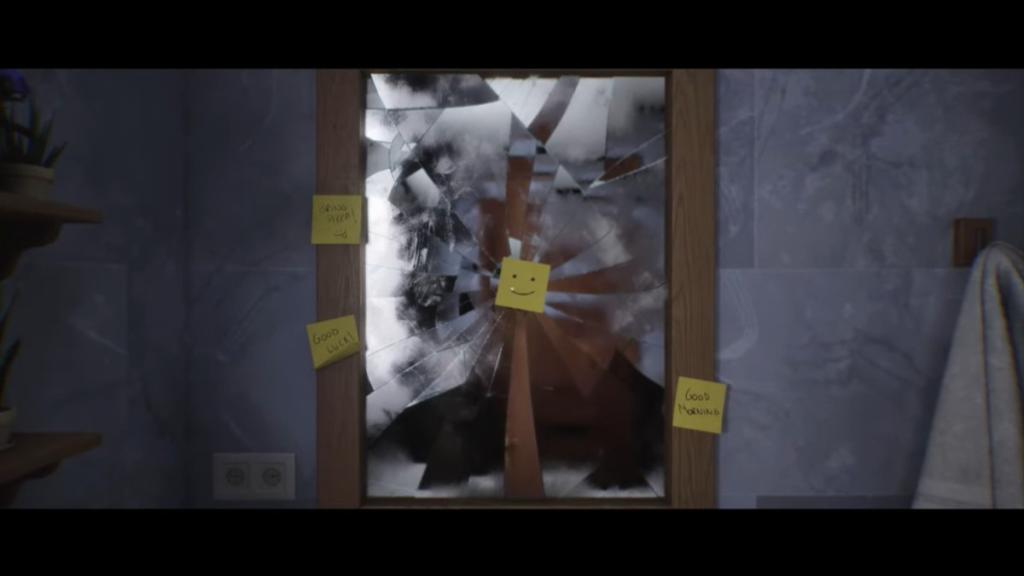
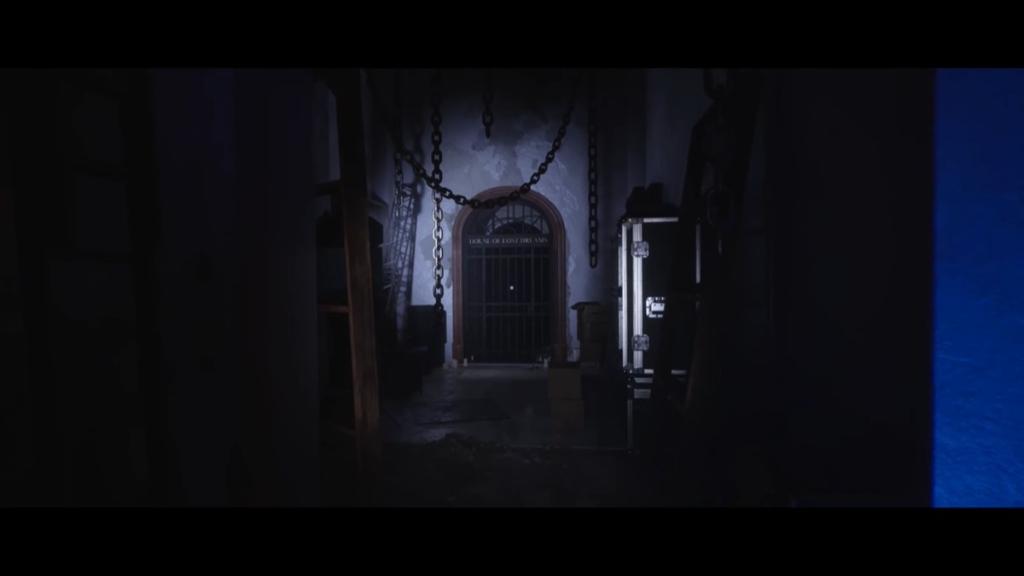
Find the Silver Piece inside the House of Lost Dreams. Silver plates with cherub paintings for the time of day, related to the family members on the picture frames. A ghost will attack you in the hallway, bringing you back to the broken bathroom mirror.
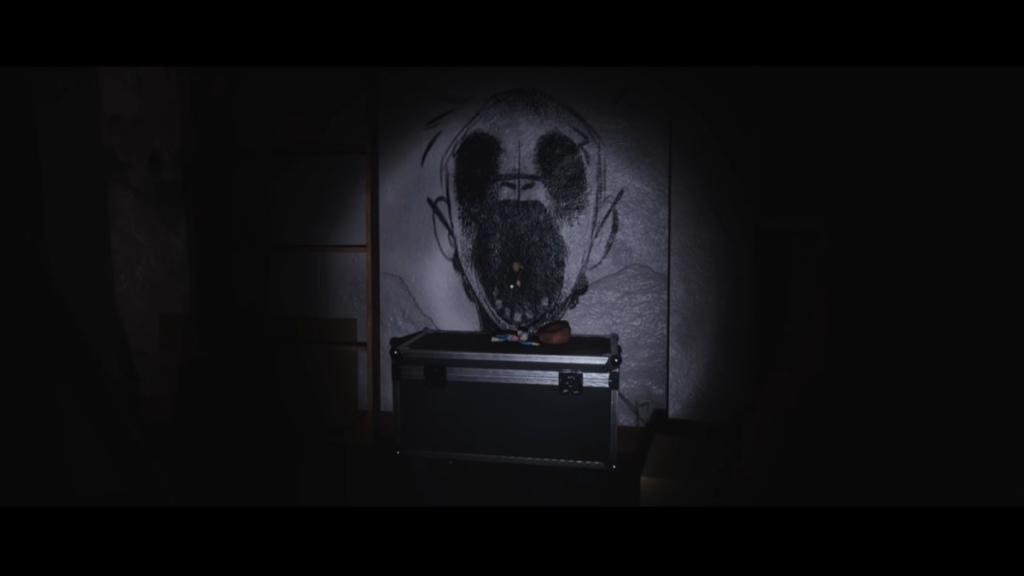
Return to the large room with the giant easels and insert the Silver Piece in the gate at the back (where you originally got the Golden Piece). Remember that you can find this room by taking the right path when the corridor splits off into two. The taped chest is now open in this loop, holding new sketchbook pages inside. Find the monkeys four times in this room to get Isaac’s Deflated Ball. Travel to the dead end of the area beyond the Silver Piece gate to find a Valve. You can also find one of those strange coins as you return to the main area.
Return to the House of the Lost Dreams and go in the opposite direction from it, past a caution wet floor sign, leading downstairs. Insert the Valve to stop the leak. Take the ladder down to collect Joel’s Dull Heart.
Return to the storyboard puzzle and place the Drawing of Two Monkeys on “Find the childhood that hides from pain”, the Drawing of Strange Symbols panel on the “Look for the signs amidst all the noise” slot, and the Canarian House on “Escape for the false prison of memories” to complete this puzzle.
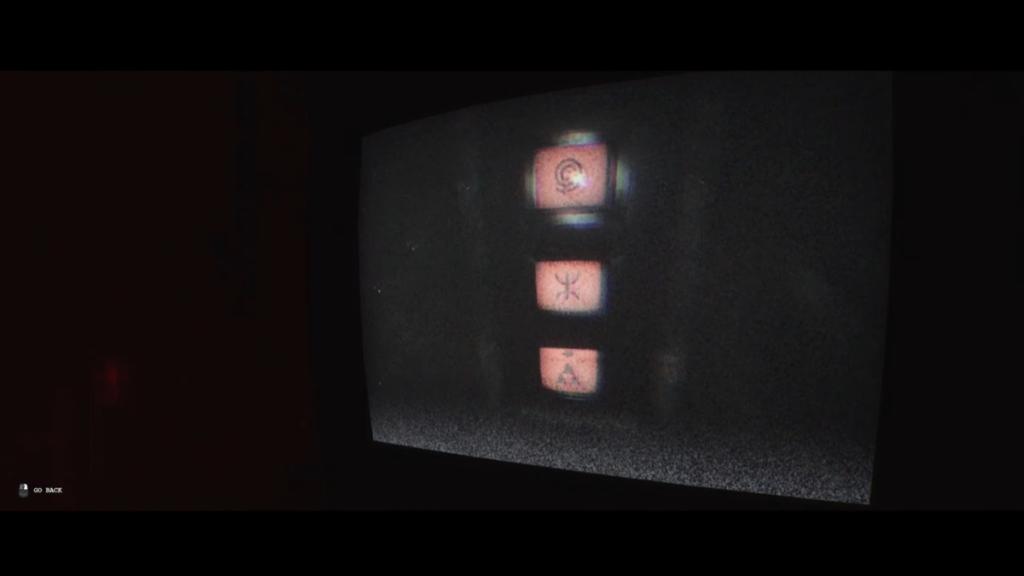
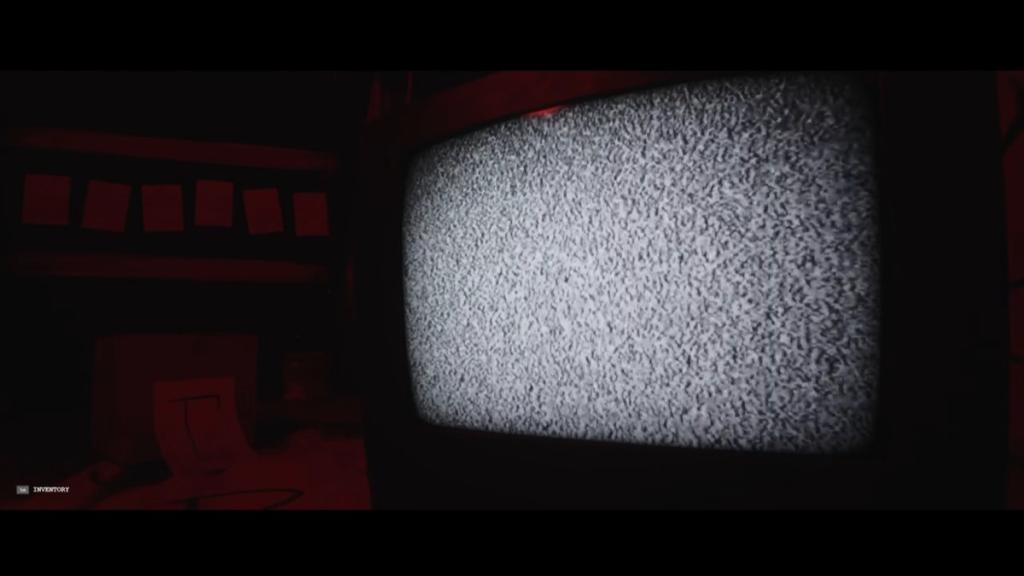
You can now use the television room with a glowing red light emanating from it, now that the storyboard is complete. There’s a room upstairs that’s open too, including another monitor and a tape that’ll drop from the window when you interact with it. Find and insert the tape in the television room. Play through the “Why Didn’t I Scream?” tape to get the code of three symbols: spiral, fork, and triangles. You need this to unlock the door with three monitors on it (where you picked up the door knocker).
Click on each monitor until it displays the code you found in the television room. Enter the area that was in the tape where monitors play static and pick up Sam’s Broken Glasses off the ghost. Backtrack to the apartment with the rocking chair in the previously locked room, as it’s now open.
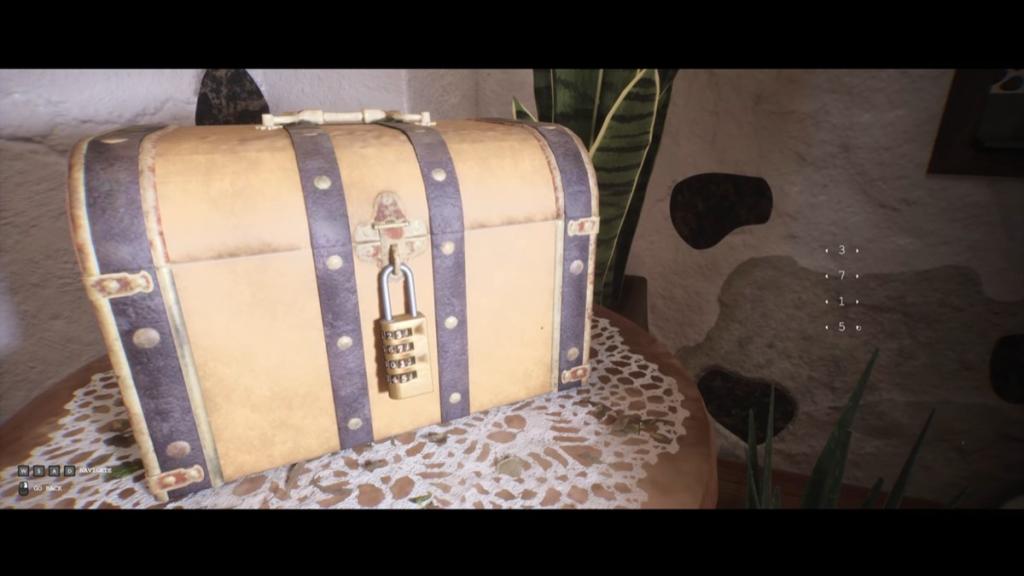
Place the entrance door on the painting in this now-locked room for mom’s chest puzzle. Count the painted roof tiles (3), clay pieces (7), wooden crosses (1), and lizards (5) in this tiny room to get the code 3715 for the chest. Open the Entrance Door and collect Eva’s Shattered Photograph.
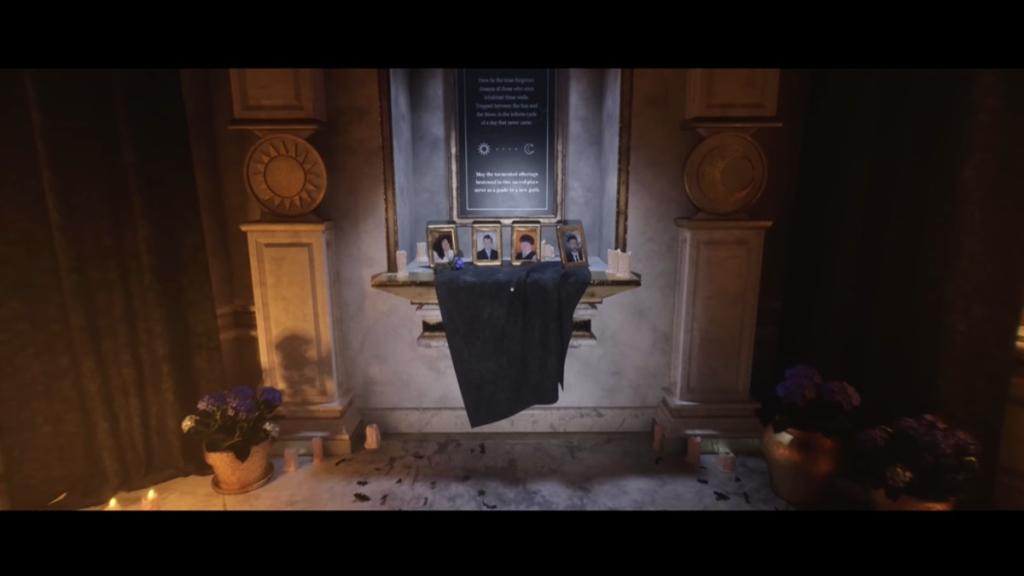
Return to the House of Lost Dreams and place items on the silver plates from left to right: Eva, Isaac, Samuel, and Joel. This releases the second light.
Head back towards the bathroom when you see the ghost fall into the painting below it. Go left and through every exit door marked by the house for sale sign outside of it.
Chapter 5: Playing With The Truth
Keep moving forward, exploring the strange house interior where more and more ghosts are present this time around. There’s the Staff Key on stacked cardboard boxes, but it’s on the other side of a gate you can’t open. Head upstairs to where there’s a giant drawing of Sam’s parents on the wall with a Staff Only door on the right. Go down another staircase to find a sketchbook sheet with a game of hangman on the back and the Staff Key. Open the Staff Only door and pick up the “Why Didn’t I Scream?” tape. Walk through the trigger warning and find the white door, clicking on the handle repeatedly to force it open.
Insert the tape on the television on the floor and play Hangman by interacting with ghosts on the recording. The letters you select update your game in real time. The letter “O” is always given to you, but you have to correctly figure out the remaining five letters. Locate the letters “R,” “M,” “P,” and “E.” Meaning “to break,” the word you need to spell is “romper.” You need to find the ghost in the hallway with “X” above it to open the passage so you can travel down it, unlocking the path outside of the videotape.
Because you unblocked the path, you can head all the way down after completing the tape for the second time, returning to the hallway where you used the door knocker a few chapters back. The ghost in this hallway won’t move if you’re looking at it. It wouldn’t be an indie horror without a chase scene, and Luto knows this, but at least it’s kind enough to warn you with the “Start Chase” title.
Chapter 22: A Mouth Full of Sand Can’t Scream
Search for the gold coin in the darkness. Listen out for the static screams coming from the radio and click on it, moving the radio to another part of the sandy abyss. Find the sketchbook sheet of Mr. Button. Juggle navigating around this giant room for the screaming radio locations and spamming spacebar to keep Samuel’s eyes open. Search for the third light, using the spacebar to keep yourself awake. Follow the sound of the radio again, this time adjusting the frequency as the ghost approaches.
02_Beyond_The_Noise
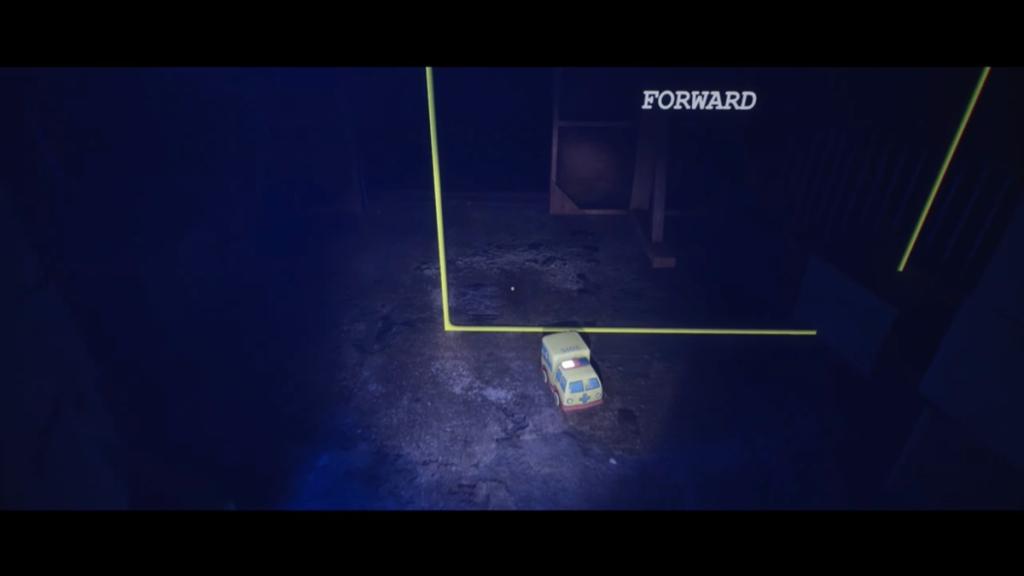
In the room where it says “Forwards” and “Backwards,” you need to go through the backwards message and then through the forwards message and wait for the tiny ambulance toy to reach the room with you. When the ambulance that went across the “Out of Bounds” pit reaches the door you walked through, go through the backwards text and then avoid the forwards text, waiting at the end of the out of bounds pit for the ambulance to reverse. Then hop on the ambulance for it to carry you over the gap.
Backtracking through your original house causes many glitches and errors, showing your psyche and memories falling apart at the seams. Find the corridor that says “Play Music” and walk through the message to get to a ladder, taking you to the other side of the hatch at the start of the game.
00_Prologue
Kicked out back to the main menu, the narrator follows you here. Keep clicking Continue, regardless of the glitches, lag, and narrator’s dialogue.
30/03
You can skip this section altogether by exiting to the main menu, which will force Samuel to wake up in the bathroom where everything is seemingly “back to normal.” 30/3 can be played at any point upon completing the game by selecting this mode above New Game in the main menu.
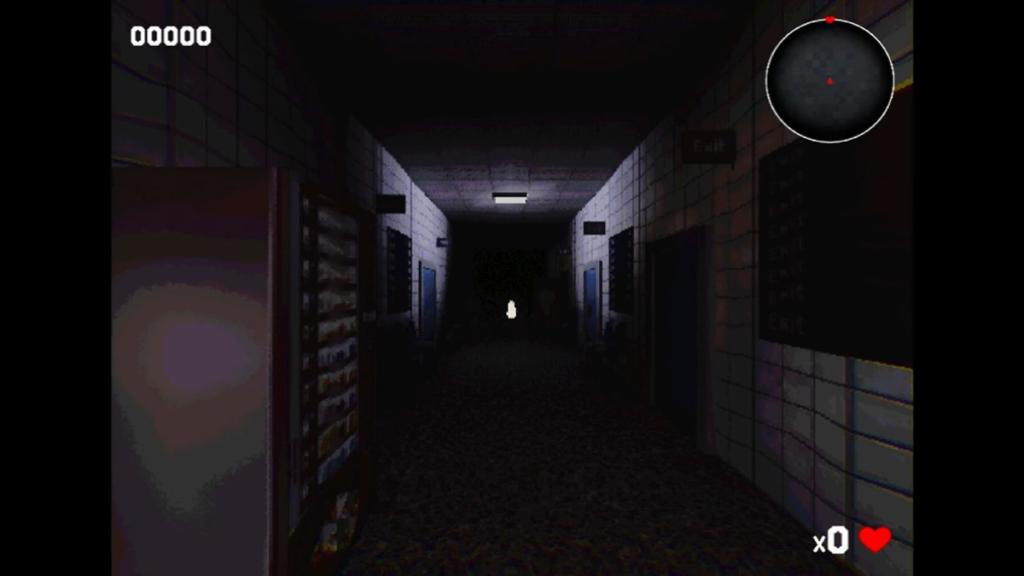
30/3 is a mini-game that uses the same rules as Pac-Man: Run from the red spiders, pick up orbs, and collect hearts to unload at the front desk. Fill the five empty hearts for an achievement. Beating 30/3 isn’t necessary for the story.
Chapter 3: One More Time
Enter the room opposite where the bathroom normally spawns in and pick up the house keys. Leave the house.
Monday
Go through the “Change Day” title and find the inactive “Trigger Death” title to drop down onto. Phase through the staircase leading to the exit to see the Animation Tests area. Enter the narrow corridor to the right of Animation Tests. Push the small moon into the “Out of Bounds” pit and follow it down, locating the fourth and final light.
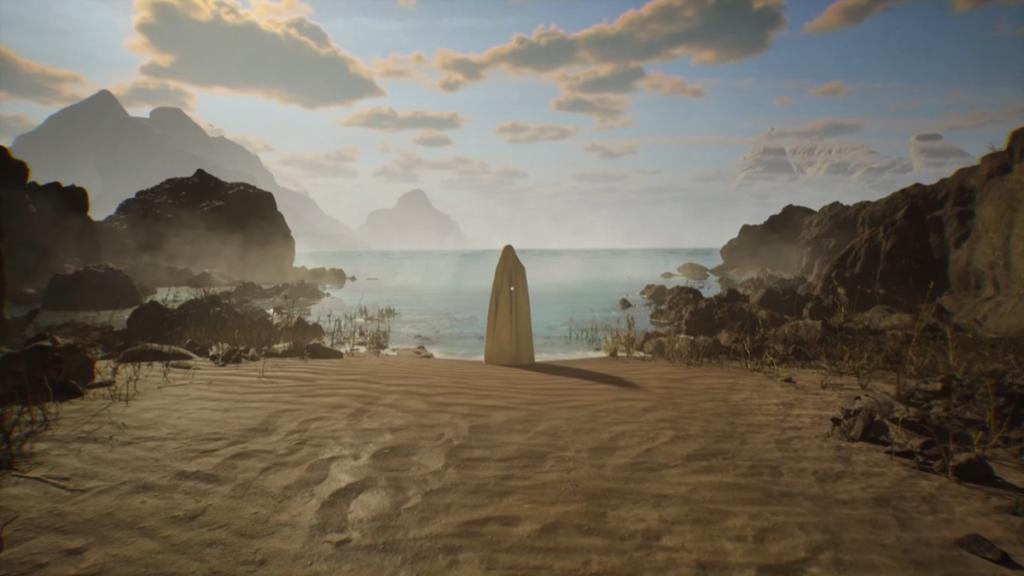
Exit to the main menu and click Continue for the final time, returning to the sandstorm. Reach the fourth light where the storm will seize. Enter the box. There is no right answer to what you say to the narrator.
Free from restraints, now able to open his eyes to a calmness that he hadn’t seen for a long time, the cinematic bars to Samuel’s life have finally lifted for your time in Luto has come to an end.
The post Luto walkthrough appeared first on Destructoid.